

A leather jacket goes through two places before it reaches you. First the tannery, where raw hide becomes leather. Then the factory, where that leather is cut and sewn, then checked. Most write-ups only cover the factory. We’re covering both, because a lot of the quality problems buyers can’t explain start at the tannery.
We’ve been a leather jacket manufacturer in Pakistan for over 25 years. Our factory is in Korangi, Karachi, surrounded by around 250 tanneries, so we see both halves of the process every day. This is the sequence as it actually runs, with real timings.
How do raw hides become finished leather?
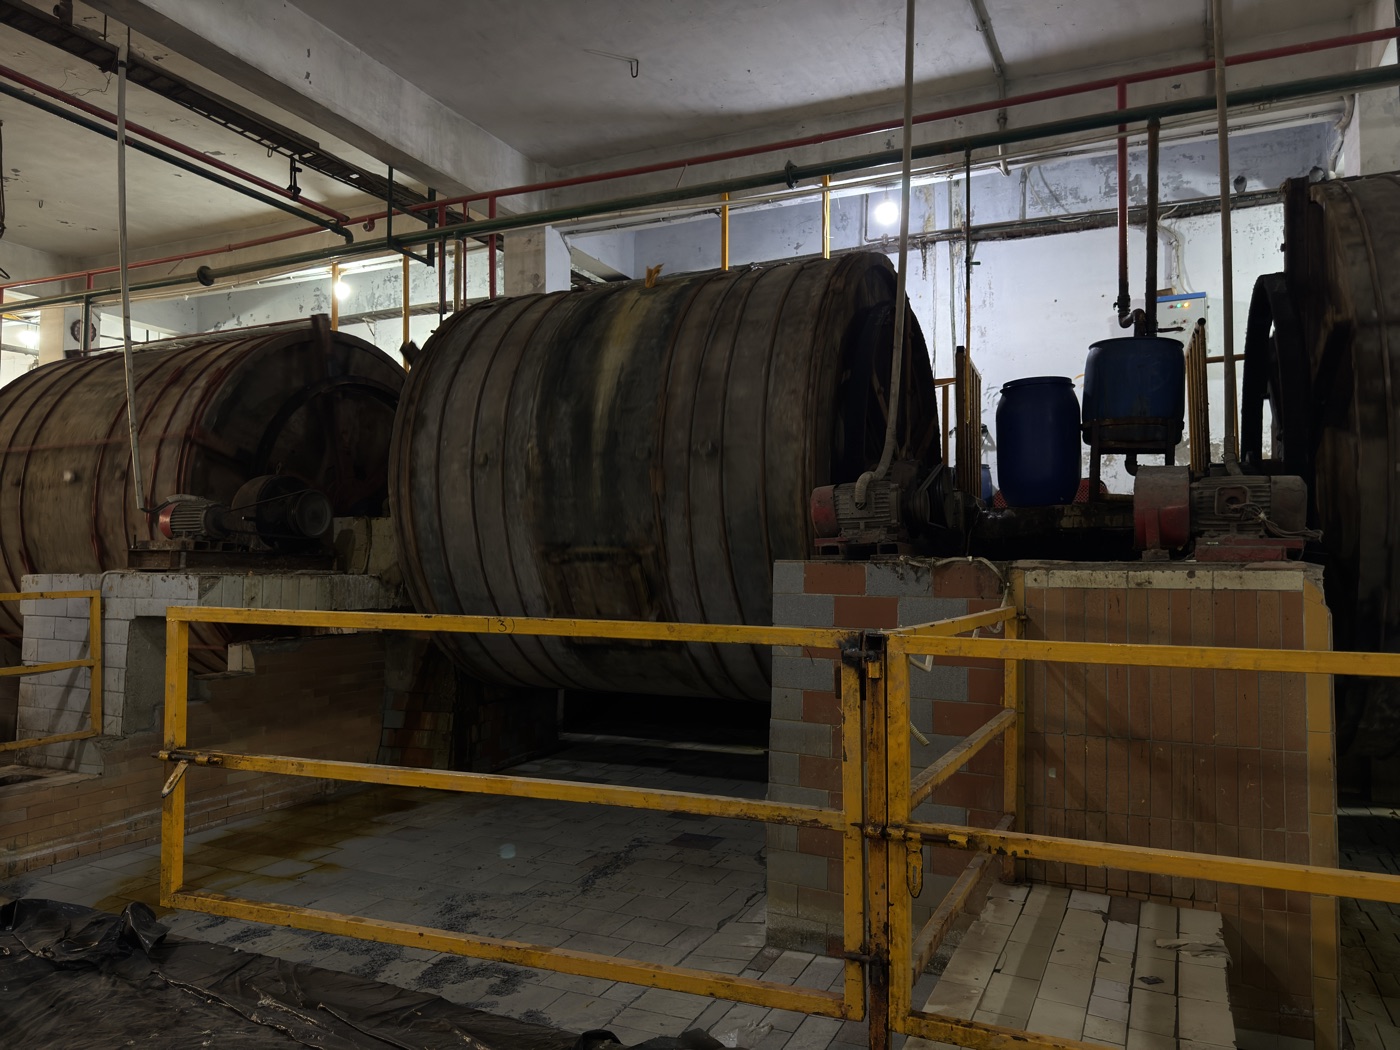
By the time leather lands on our cutting table it has spent weeks in drums and machines. Buyers rarely see this part, but it sets the ceiling on how good the jacket can be. Good stitching can’t rescue badly tanned leather.
Step 1: Hide selection and preservation
It starts at the abattoir. A raw hide begins to rot within hours, so it’s preserved straight away, usually by wet salting. Salt goes on the flesh side, pulls the moisture out and stops the decay. Salted hides keep for weeks, long enough to reach a tannery.
No two hides are the same. Breed shows up in the skin, and so do age and diet. So does the animal’s life: insect bites, barbed wire, brand marks and old scars all cut into the usable area. Tanneries grade hides before they buy. Grade A has very few surface marks and costs more. Lower grades go into less visible parts or get a corrected-grain finish that hides the damage.
Step 2: Beamhouse operations
Before tanning, the hide has to be cleaned and opened up. Tanneries call this stage the beamhouse.
- Soaking puts water back into the hide and washes out salt, dirt and blood. It takes 8 to 24 hours.
- Liming uses calcium hydroxide to swell the fibres and loosen the hair and the outer skin. That’s 1 to 3 days.
- Unhairing and fleshing are done on machines that scrape hair off the grain side and fat off the flesh side without marking the grain.
- Deliming and bating neutralise the lime, then enzymes soften the fibres. A few hours.
- Pickling uses acid and salt to drop the pH so the collagen will take the tanning agent.
At this point the hide is called a pelt, and it’s ready to tan.
Step 3: Tanning
Tanning turns something that would rot into something that lasts. Roughly 80 to 85% of garment leather worldwide is chrome-tanned.
For chrome tanning the pelt goes into a rotating drum with chromium(III) sulphate for 8 to 24 hours. The chromium bonds with the collagen and makes it stand up to heat and water. Bacteria can’t break it down any more. It comes out a pale blue-grey, which is why the trade calls it “wet blue”, and it’s soft enough for clothing.
Vegetable tanning uses tannins from bark, wood or fruit and takes 30 to 60 days. The leather is firmer and has less stretch. It’s great for belts, bags and saddlery, and not what you want for a jacket.
Step 4: Dyeing and finishing
Wet blue still has a long way to go.
- Splitting. If the hide is too thick, a band knife machine splits it down. Garment sheepskin usually ends up at 0.6 to 1.0 mm.
- Shaving evens out the thickness across the whole hide.
- Retanning is a second, lighter tan that changes the feel, adding softness or fullness.
- Dyeing is done in drums with aniline dyes or pigments. Drum dyeing goes right through the leather. Spray or surface dyeing only colours the grain side, which is why a scratch sometimes shows a lighter colour underneath.
- Fatliquoring works oils back into the fibres. Skip it and the leather dries out stiff.
- Drying happens on vacuum tables, toggle frames or hanging lines. Dry it too fast and it goes hard. Too slow and it can grow mould.
- Finishing sets the look. Aniline is a clear finish that shows the natural grain. Semi-aniline adds a light pigment for more even colour. Pigmented is a heavier coat that covers marks. The surface can also be ironed, embossed, buffed or tumbled.
From raw hide to finished leather usually takes 2 to 6 weeks. It depends on the tanning method, how complicated the finish is and how busy the tannery is.
How does finished leather become a jacket?
This is our part of the job. Each of these steps is a skill people spend years getting good at.
Step 5: Design and tech pack
Every jacket starts with a spec. Some buyers send a full tech pack. Others send a photo of a jacket they like, and our pattern team turns it into a production document. A workable tech pack covers:
- flat sketches with construction details
- a full size chart in centimetres
- leather: type, colour, thickness
- lining fabric and colour
- hardware: zip brand, size, colour; snap type; button style
- stitch type and thread colour
- where the labels and branding go
No tech pack? We’ll build one with you. That’s normal on our custom jacket programme.
Step 6: Pattern making and grading
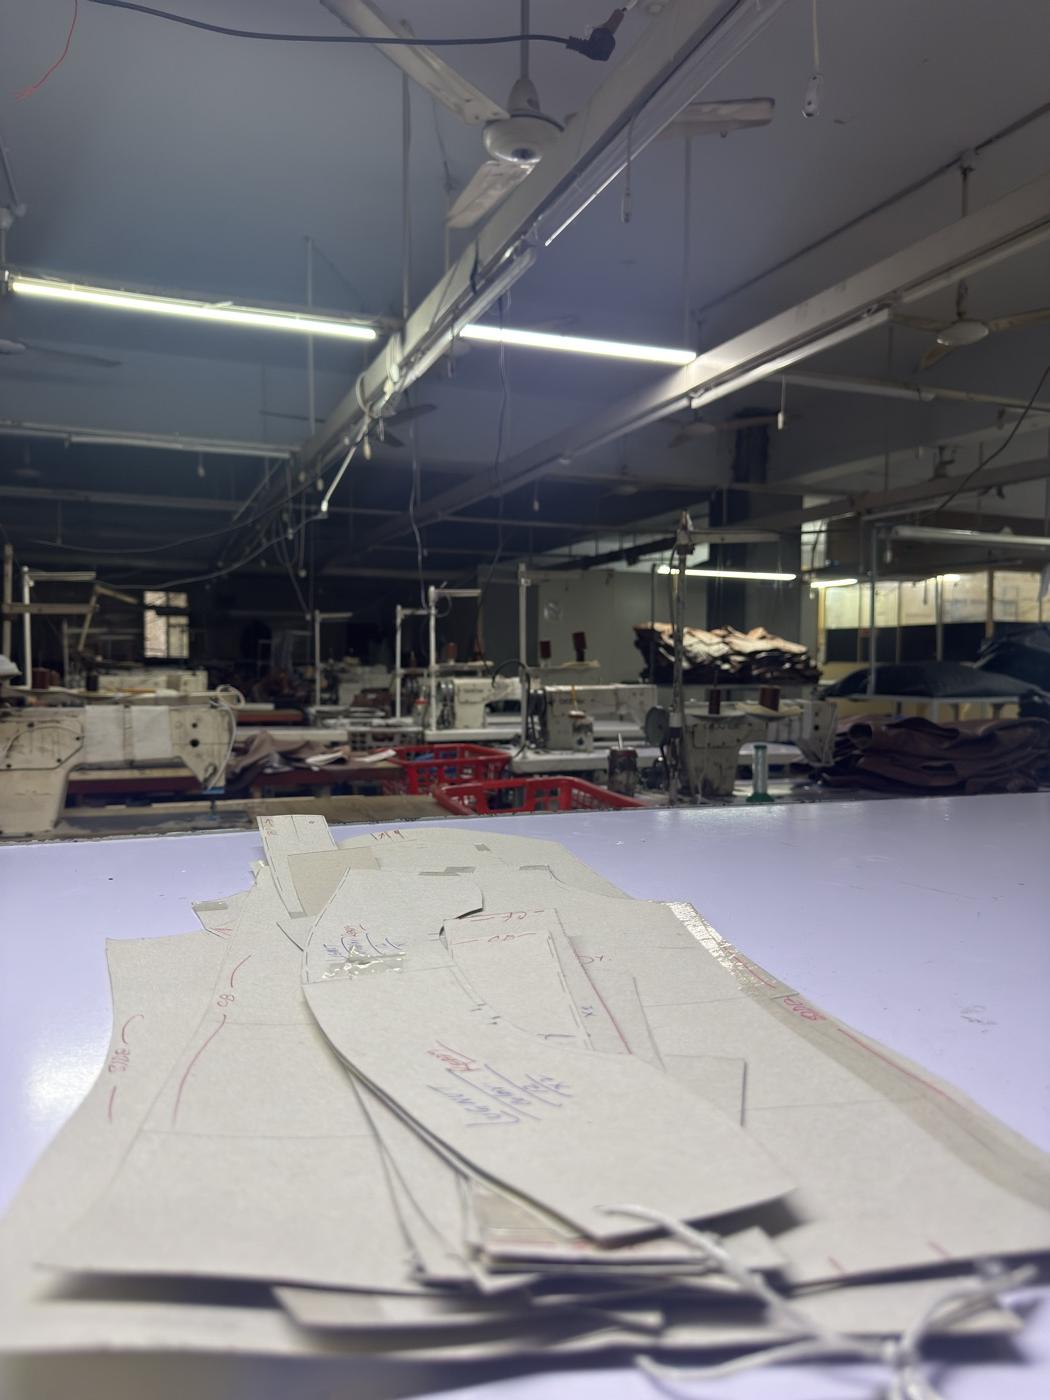
Our pattern master cuts a flat piece for every panel. A typical leather jacket has 15 to 30 of them once you count the fronts, back, sleeves, collar, pocket bags, facings, belt loops and all the small bits.
Leather patterns aren’t cloth patterns. Leather stretches more in one direction than the other, it doesn’t fray so seam allowances work differently, and where two layers overlap at a seam the thickness has to be built into the pattern.
The first pattern is made in the sample size, usually a Medium, then graded up and down the range. Small errors grow. Two millimetres out at one seam adds up across the garment, and the jacket won’t hang right.
Step 7: Leather inspection and sorting
Every hide goes on a light table before it’s cut. The checker marks scars, insect damage, thin patches, patchy dye and stretch marks with chalk or stickers so the cutter knows to avoid them. Then hides are sorted by shade. Leather varies from skin to skin, and every panel in one jacket has to match.
Step 8: Cutting
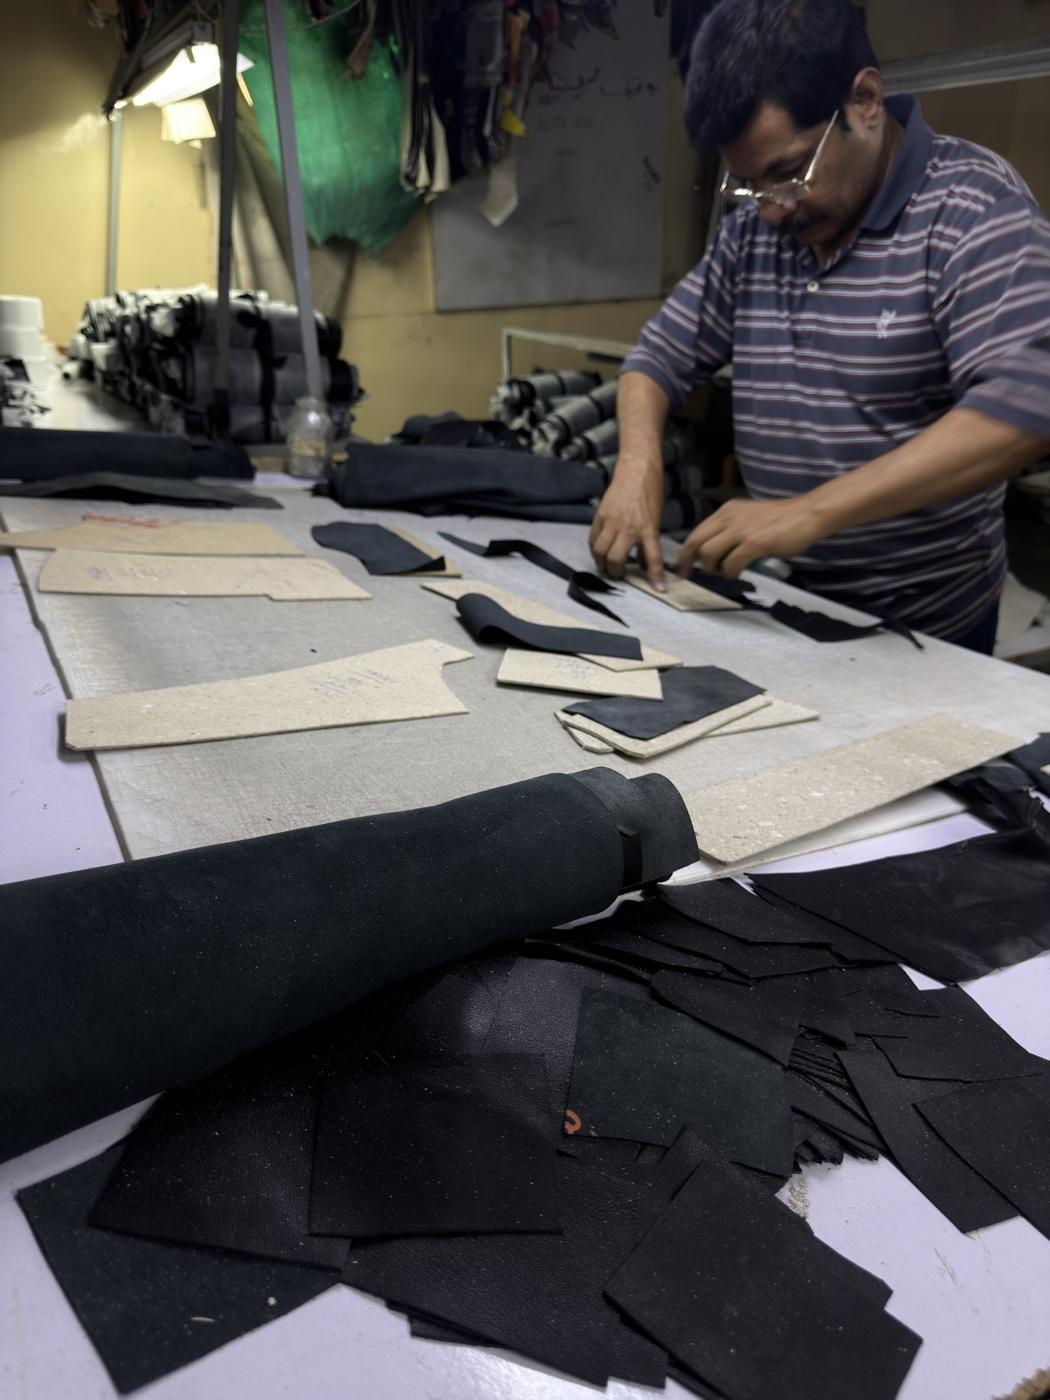
You can’t stack leather and cut twenty layers at once like fabric. Each hide is laid out on its own, and the cutter places the pattern pieces to get the most out of it while working round the marked faults. It’s one of the hardest jobs on the floor.
A good cutter knows the back and shoulder of the hide have the tightest, best grain, and the belly and legs are softer and stretch more. The fronts and sleeves always come from the best areas, because that’s what people see.
We cut two ways. Hand cutting, with a sharp knife round metal templates, is the most flexible and suits small and medium runs. Die cutting, also called clicking, uses steel dies and a hydraulic press, and we use it on bigger runs where speed and consistency count.
Step 9: Skiving
Before sewing, the edges that will overlap at a seam are thinned on a skiving machine. Without it you get lumpy, raised seams wherever layers meet, at the collar, cuffs, pocket mouths and placket. Skiving is one of the easiest ways to judge a factory. Badly skived seams look puffy and cheap. Good ones lie flat.
Step 10: Stitching and assembly
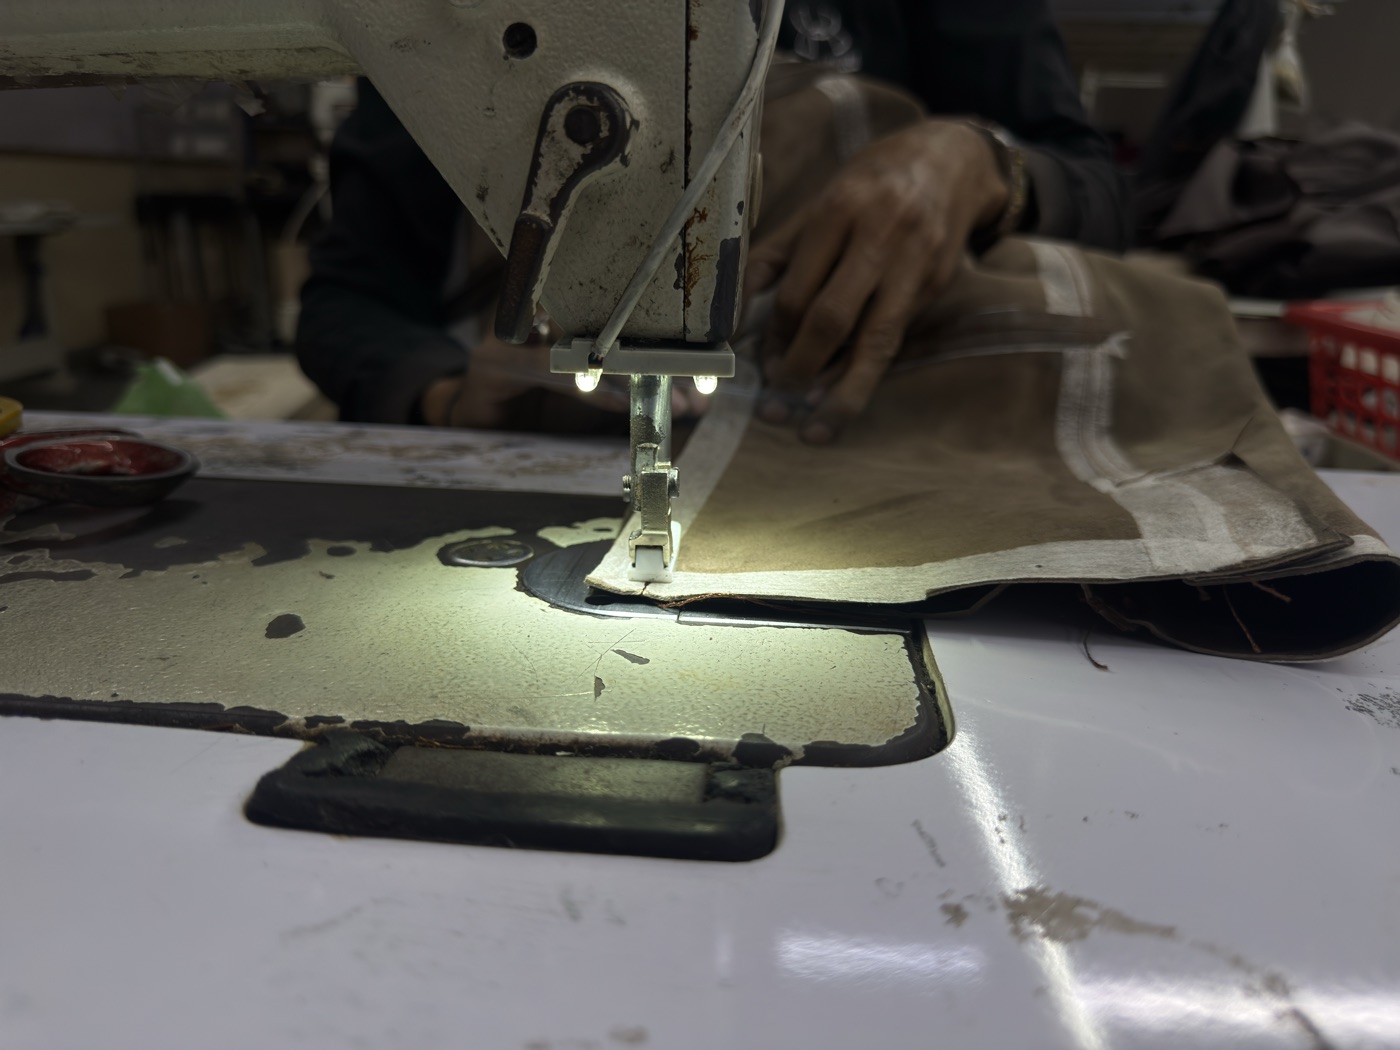
We sew on industrial machines with heavier needles, bonded nylon or polyester thread, and walking or roller feet that move the leather through without marking it. A typical order of work:
- Build the fronts: pocket bags, welt pockets, zip guards and any decorative panels.
- Join fronts to back at the side and shoulder seams.
- Make and attach the collar.
- Set the sleeves.
- Put in the main zip or button placket.
- Make the lining separately and bag it into the shell.
- Finish the hem and cuffs.
One jacket takes about 4 to 8 hours of machine time. A plain bomber with two pockets and a centre zip is at the quick end. A double-rider biker with an asymmetric zip, four zipped pockets, epaulettes, a belt and quilted lining panels takes the full day.
Step 11: Hardware installation
Zips, snaps, rivets, D-rings and buckles go on after the main sewing. YKK zips are our standard. For private label orders we can get branded zip pulls, engraved snaps and embossed hardware made. Everything is set with hand or pneumatic presses so it sits flush and doesn’t pull out.
Step 12: Finishing and conditioning
- trimming every loose thread
- edge painting or burnishing any raw edges
- a light conditioning treatment for sheen and hand-feel
- pressing or steaming the lining flat
- final branding, whether heat-stamped logos, embossing or printed labels
Step 13: Quality control
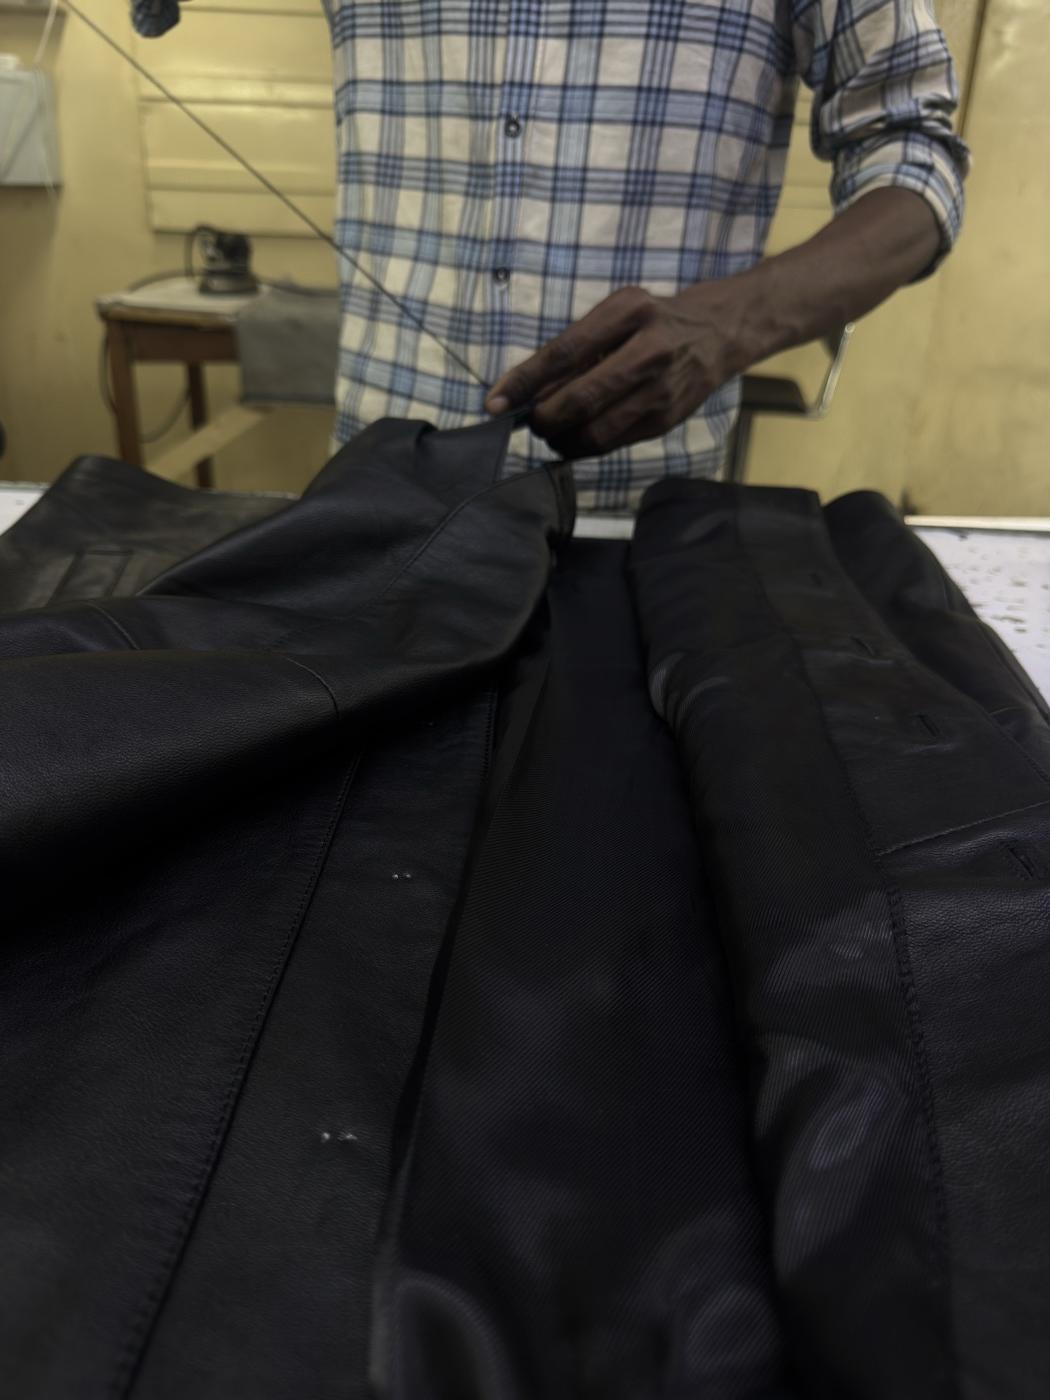
Every jacket is inspected before it’s packed. What our QC team checks:
- Measurements against the approved size chart, to within 1 cm either way at each point.
- Stitching. Even stitch length, usually 7 to 8 stitches per inch on leather, with no skipped stitches or puckering.
- No visible marks, scratches or shade differences on the outside panels.
- Zips that run smoothly both ways, snaps that close and open properly.
- A lining that doesn’t bunch or twist, with every attachment point secure.
- Symmetry. Pockets level, collar centred, sleeves the same length.
Anything that fails goes back for rework. Only passed pieces get packed.
Step 14: Packing and shipping
Each jacket is wrapped in acid-free tissue and bagged, then packed into export cartons, with whatever branded packaging the buyer has asked for: hangtags, care labels, dust bags, inserts. Typical transit from Karachi is 20 to 30 days by sea to Europe and 25 to 35 days to North America. Air freight takes 3 to 7 days almost anywhere.
What are the real timelines from enquiry to delivery?
This is how a typical order runs on our schedule:
| Stage | Duration |
|---|---|
| Design and tech pack finalisation | 3 to 7 days |
| Sample production | 2 to 8 weeks, depending on the style |
| Sample approval and revisions | 5 to 14 days (depends on buyer) |
| Leather sourcing and preparation | 3 to 7 days (from tannery stock) or 2 to 4 weeks (custom colour/finish) |
| Bulk production | 30 to 45 days after sample approval |
| Sea freight to Europe | 20 to 30 days |
From first contact to your warehouse is roughly 11 to 17 weeks, as long as sample approval doesn’t drag. We usually buy the leather while you’re reviewing the sample, so sourcing rarely adds time.
What questions should you ask your manufacturer about the process?
Once you know how a jacket is made, you can tell quite quickly whether a factory knows what it’s doing. A few questions worth asking:
- Do you hand-cut or die-cut? Hand cutting is more flexible. Die cutting is more consistent at volume.
- Do you skive the edges? If they don’t know what that means, look elsewhere.
- How does your QC work, and how many points do you check?
- Which zips do you use? YKK is the usual standard.
- Will you send photos during production?
- Where does your leather come from, and can I visit the tannery?
We’re happy to answer all of these. Buyers are welcome to visit the factory, and we send photos at each stage of production.
Get in touch with our production team with your design and we’ll send back a sample plan and a production timeline. Or message us on WhatsApp.